Mini Cinnamon Rolls: A Simple & Tasty Recipe Guide
Introduction
Ah, mini cinnamon rolls recipe! These little swirls of heaven have been capturing hearts left, right, and center. And why not? They’re the perfect treat for any occasion—be it a cozy weekend breakfast, a chic brunch party, or a sweet end to a dinner feast. But what exactly makes the mini cinnamon rolls recipe so irresistible?
For starters, this mini cinnamon rolls recipe packs all the flavors and textures of their full-sized counterparts into a single, delightful bite. Imagine soft, fluffy dough intertwined with a rich, cinnamon-spiked filling, all topped off with a luscious drizzle of cream cheese frosting. Now, shrink that down to a size that’s just perfect for popping into your mouth. Tempting, isn’t it?
Moreover, the mini cinnamon rolls recipe is not just about taste. It’s also about the joy of baking and sharing. There’s something incredibly satisfying about kneading the dough, spreading the filling, and watching these little rolls puff up in the oven. And let’s not forget the joy that comes from seeing your loved ones’ eyes light up as they take their first bite.
So, whether you’re looking to impress guests, treat your family, or simply indulge in a little baking therapy, the mini cinnamon rolls recipe is the way to go. In the following sections, we’ll guide you through the process of creating these treats from scratch. Let’s roll!
Essential Ingredients and Equipment
Before we embark on the delightful journey of baking with the mini cinnamon rolls recipe, let’s make a pit stop at the very foundation of this adventure—the essential ingredients and equipment. You’ll be pleased to know that the ingredient list is straightforward, featuring pantry staples that come together to create something magical. Moreover, the equipment needed is likely already within your kitchen, making this venture all the more accessible.
Ingredients Overview
At the heart of every mini cinnamon roll is the dough. It begins with all-purpose flour, a versatile base offering the perfect structure. Next, a touch of sugar sweetens the deal, while unsalted butter brings in a rich, tender texture. An egg lends moisture and acts as a binding agent, ensuring your dough is cohesive and pliable. The real magic happens with instant yeast, a reliable leavener that guarantees a soft, airy rise.
Transitioning to the filling, we mix brown sugar and ground cinnamon for that classic, spicy-sweet flavor profile. This mixture is spread over the dough, which is then rolled, cut into pieces, and baked to perfection.
But no cinnamon roll, mini or otherwise, is complete without frosting. Here, cream cheese combines with powdered sugar and a dash of milk to create a smooth, tangy topping that contrasts beautifully with the warmth of the cinnamon.

Equipment Needed
Now, let’s talk tools. First and foremost, you’ll need a mixing bowl and a stand mixer or hand mixer. These are crucial for combining your dough ingredients thoroughly. If you’re going the traditional route, a wooden spoon and some elbow grease will also do the trick.
Next, a rolling pin is essential for shaping your dough into a perfect rectangle, setting the stage for your filling. To spread the filling evenly, keep a rubber spatula or butterknife handy. For slicing the dough into mini rolls, nothing beats a sharp knife or even dental floss for clean, precise cuts.
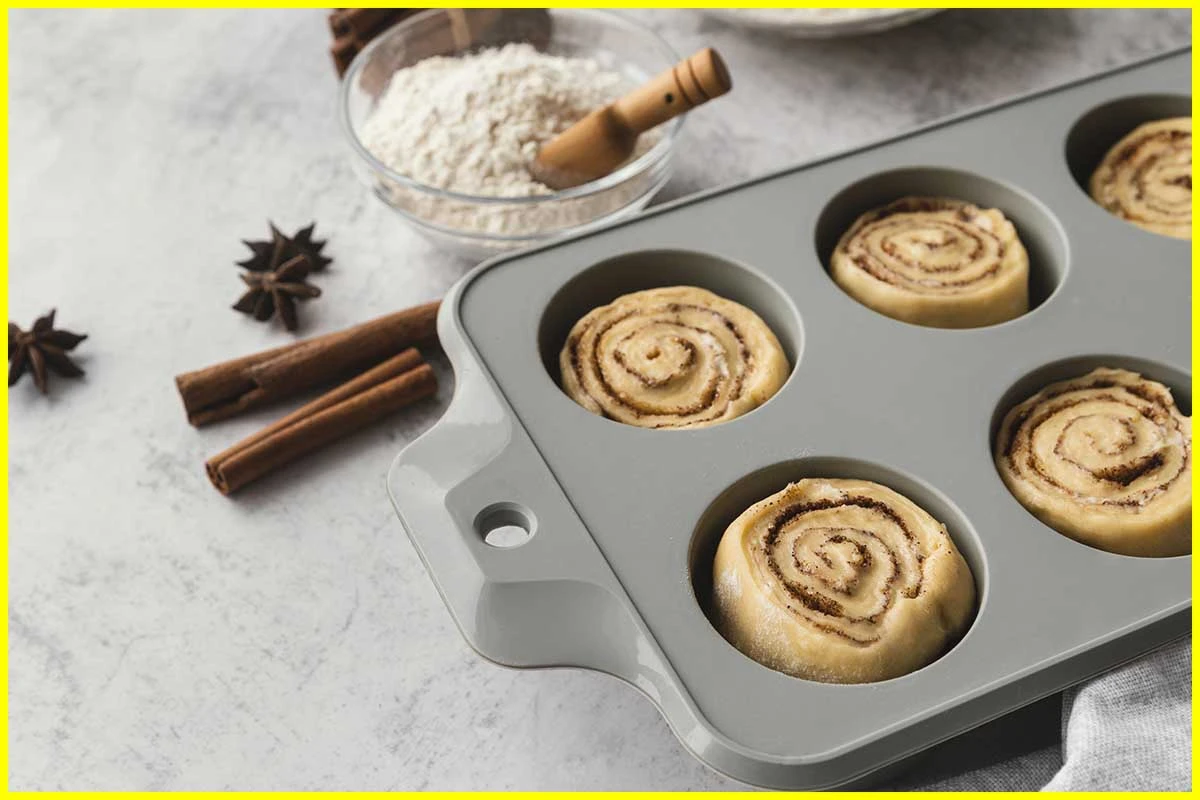
As for baking, a mini muffin pan or a baking sheet lined with parchment paper will serve as the perfect platform for your rolls. And finally, don’t forget the cooling rack, ensuring your mini cinnamon rolls cool down just enough before you slather them with frosting.
In summary, with these basic ingredients and simple tools, you’re well on your way to creating mini cinnamon rolls that are not just delicious but also a joy to make. So, gather your supplies, and let’s get ready to roll, spread, and bake our way to mini cinnamon bliss!
Step-by-Step Recipe
Baking mini cinnamon rolls might seem like a daunting task at first glance, but fear not! With this easy-to-follow guide for the mini cinnamon rolls recipe, you’ll be on your way to creating these delightful treats that promise to fill your kitchen with their irresistible aroma.
Preparing the Dough
First things first, let’s get the dough ready. Begin by mixing the dry ingredients—all-purpose flour, a pinch of salt, and a little sugar—in a large mixing bowl. In a separate bowl, activate your instant yeast by combining it with warm milk (or water), ensuring it’s not too hot to touch. This is crucial for the yeast to work its magic.
Once frothy and active, add the yeast mixture to the dry ingredients along with a beaten egg and melted unsalted butter. Mix until a soft, cohesive dough forms. Knead the dough on a lightly floured surface until it’s smooth and elastic, about 5-7 minutes. Then, let the dough rest in a warm spot, covered, until it doubles in size, which should take about an hour.
Making the Filling
While the dough is rising, prepare your filling. In a small bowl, combine brown sugar with ground cinnamon. This simple, yet potent mixture will give your mini cinnamon rolls their signature sweet and spicy flavor.
Shaping and Cutting the Rolls
Once the dough has risen, punch it down gently and turn it out onto a floured surface. Roll the dough into a large rectangle, aiming for even thickness. Spread a layer of softened unsalted butter over the dough, then sprinkle the cinnamon-sugar mixture evenly on top.
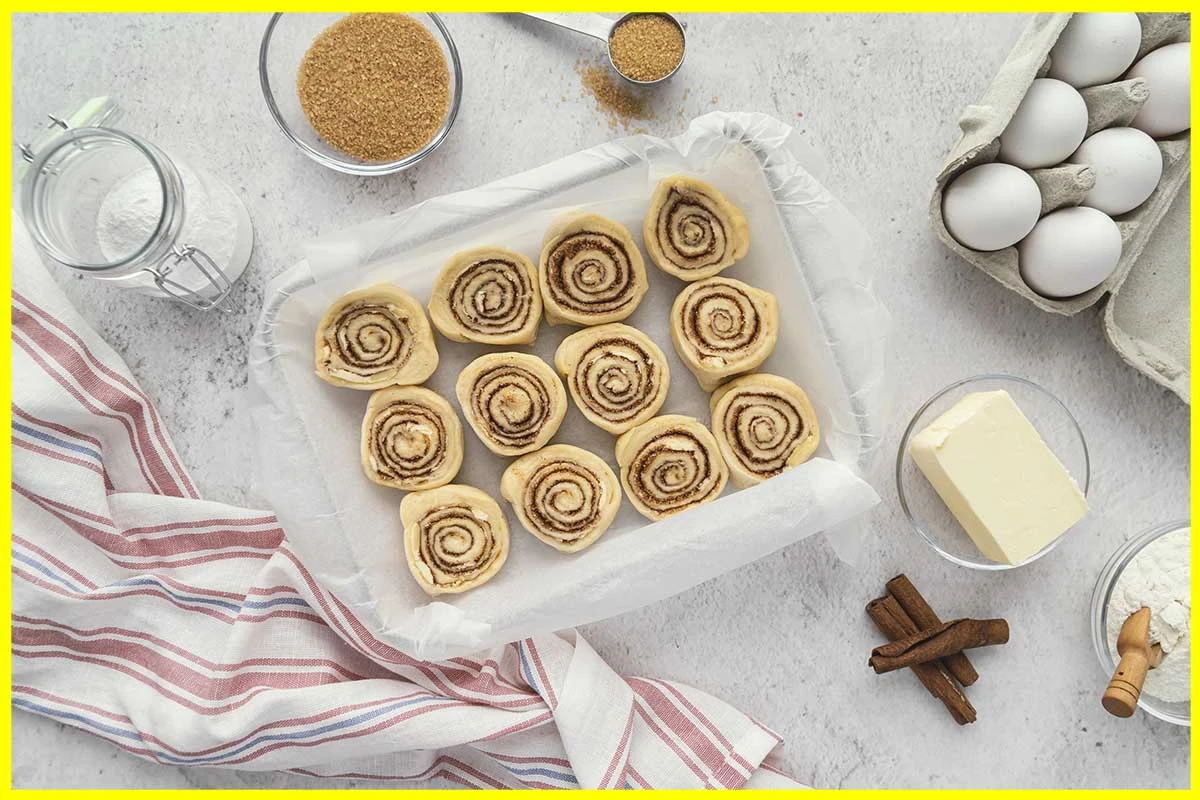
Starting at one long edge, roll the dough tightly into a log. Using a sharp knife or dental floss, cut the log into even pieces, about 1 to 1.5 inches thick. This is where the magic happens, as you’ll start to see the iconic spiral of the cinnamon roll.
Baking the Rolls
Arrange the cut rolls in a greased mini muffin pan or on a baking sheet lined with parchment paper, leaving a little space between each for them to expand. Let them rise again until puffy, about 30 minutes.
Preheat your oven to a cozy 350°F (175°C). Bake the rolls for 12-15 minutes, or until they turn a lovely golden brown. The scent wafting through your kitchen at this point will be utterly divine, signaling that something wonderful is about to emerge.
Frosting and Finishing Touches
While the rolls are baking, whip up your cream cheese frosting. Beat together softened cream cheese, powdered sugar, a splash of milk, and a hint of vanilla extract until smooth. The frosting should be creamy and spreadable, ready to lavish on your warm rolls.
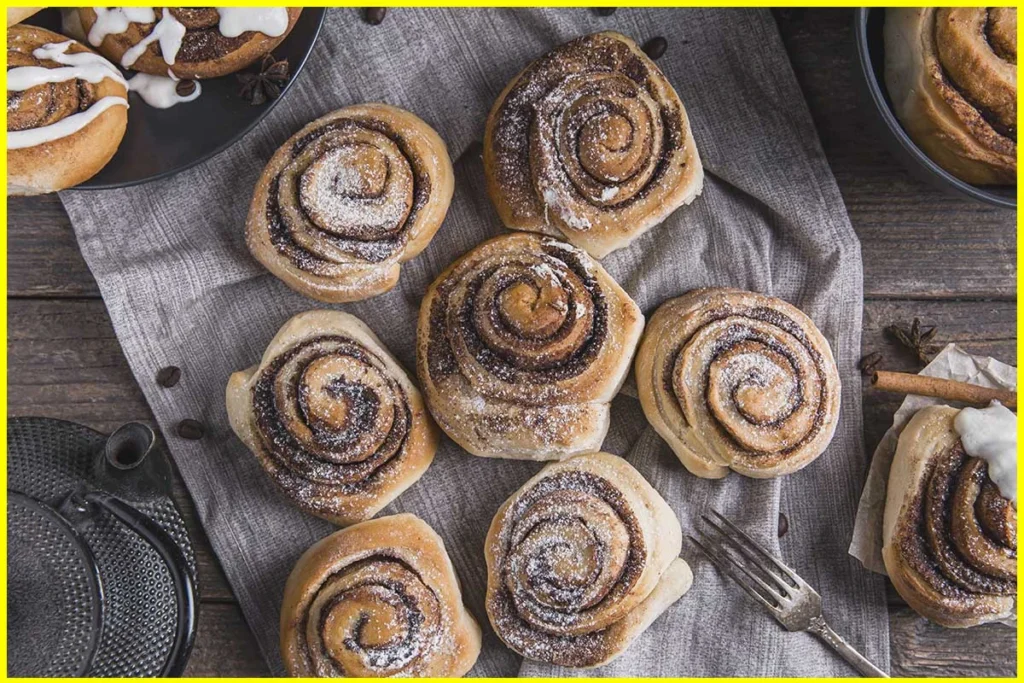
As soon as the rolls come out of the oven, let them cool slightly before spreading or drizzling them with the frosting. This step is not just about adding a layer of sweetness; it’s about creating a beautiful contrast between the warm, spicy roll and the cool, tangy frosting.
And there you have it! Your mini cinnamon rolls are now ready to be devoured. Serve them warm, allowing each bite to melt in your mouth, or save some for later (if you can resist). These treats are perfect for sharing, gifting, or indulging in a personal treat. Enjoy the fruits of your labor and the smiles they bring to everyone’s faces.
Frosting and Finishing Touches
The grand finale of our mini cinnamon rolls recipe is none other than the frosting—a crucial component that brings together all the flavors in harmony. This creamy, tangy layer not only enhances the taste but also adds a visually appealing touch to the rolls.
Preparing the Frosting
For the frosting, you’ll need cream cheese, powdered sugar, a dash of milk, and a hint of vanilla extract. Begin by ensuring your cream cheese is softened to room temperature, which will make it easier to blend smoothly with the other ingredients.
In a mixing bowl, combine the cream cheese with powdered sugar, starting at a low speed to prevent a sugar snowstorm in your kitchen. Gradually increase the speed as the sugar incorporates, adding milk to achieve the desired consistency. The trick here is to aim for a frosting that’s creamy yet thick enough to cling to the rolls without running off. A splash of vanilla extract rounds out the flavors, adding a subtle depth that complements the cinnamon beautifully.
Decorating Tips
Once your mini cinnamon rolls have cooled slightly but are still warm to the touch, it’s time to frost. If you prefer a glaze that seeps into the rolls, apply the frosting while they’re warmer. For a more pronounced frosting layer that sits atop the rolls, let them cool a bit more.
Using a spoon or a piping bag, drizzle or spread the frosting over the rolls. The warmth of the rolls will slightly melt the frosting, allowing it to seep into those nooks and crannies, creating a perfect bite every time.
For an extra special touch, consider sprinkling a little cinnamon on top of the frosted rolls or even a dash of finely chopped nuts for a bit of texture. These small additions not only elevate the visual appeal but also add a layer of flavor and crunch.
And there you have it—your mini cinnamon rolls are now a feast for the eyes as well as the palate. Whether you’re serving them at a gathering, enjoying them as a personal treat, or gifting them to a loved one, these frosted delights are sure to impress. So, go ahead, take a bite, and let the blend of soft, spicy, and sweet flavors take you to a world of baking bliss.
Storage and Reheating Instructions
Keeping your mini cinnamon rolls fresh and delicious for as long as possible is simple with the right storage and reheating techniques. Whether you’re savoring them over a few days or saving them for a later date, these tips will ensure your rolls stay as delightful as the day they were baked.
Storing the Rolls
For short-term storage, place your cooled mini cinnamon rolls in an airtight container at room temperature. They’ll stay fresh and tasty for up to 3-4 days. If you’re planning to keep them longer, freezing is your best bet. Wrap the rolls individually in plastic wrap, then place them in a freezer-safe bag or container. They can be frozen for up to 6 months, preserving their flavor and texture.
Reheating for Best Flavor
When you’re ready to enjoy your mini cinnamon rolls, reheating them properly can make all the difference. If they’re frozen, allow them to thaw overnight in the refrigerator or at room temperature for a few hours. To reheat, place the rolls on a baking sheet and warm them in a preheated oven at 350°F (175°C) for about 10-15 minutes, or until they’re heated through. For a quicker option, you can also microwave them for a few seconds, but be cautious not to overheat, as this can dry them out.
By following these storage and reheating instructions, you’ll ensure that your mini cinnamon rolls remain as irresistible as when you first pulled them from the oven. Enjoy them warm, with the frosting slightly melted, for that perfect bite every time.

Customization Ideas and Variations
One of the joys of baking mini cinnamon rolls is the vast array of customization options at your fingertips. By tweaking a few ingredients or adding new elements, you can create a variety of flavors that cater to every palate. Here are a few ideas to get you started:
Filling Variations: Beyond the classic cinnamon and sugar, consider incorporating apple pie filling for a fruity twist, or chocolate chips for a decadent touch. A sprinkle of chopped nuts can add a delightful crunch.
Frosting Flavors: While cream cheese frosting is a classic, you can experiment with maple syrup for a hint of warmth or orange zest for a citrusy kick. For chocolate lovers, adding cocoa powder to the frosting offers a rich, chocolaty glaze.
Dough Enhancements: Infuse the dough with subtle flavors by adding a pinch of cardamom or nutmeg to the mix. Incorporating whole wheat flour in place of some all-purpose flour can add a nutty flavor and slightly denser texture.
Special Toppings: Before serving, garnish your frosted rolls with toasted coconut, pecans, or even a light dusting of powdered sugar for an extra layer of sweetness and texture.
Embracing these customization ideas not only allows you to tailor the mini cinnamon rolls to your liking but also keeps the baking experience fresh and exciting. Don’t be afraid to mix and match these suggestions or come up with your own unique combinations. The possibilities are endless, and each variation brings its own special twist to this beloved treat.
FAQs
When embarking on the journey of baking mini cinnamon rolls, several common questions tend to arise. Below, we’ve compiled and answered some of the most frequently asked questions to help ensure your baking adventure is as smooth and enjoyable as possible.
Can I use active dry yeast instead of instant yeast? Yes, you can! While instant yeast dissolves and activates quickly, active dry yeast needs to be dissolved in warm water (about 110°F) before adding it to the dry ingredients. The key is to ensure the yeast froths up, indicating it’s active.
How do I make my cinnamon rolls fluffier? Fluffy cinnamon rolls start with properly activated yeast and a well-kneaded dough. Ensure your dough rises in a warm, draft-free environment until it’s doubled in size. Also, avoid adding too much flour, as this can make the dough heavy.
Can I prepare cinnamon rolls in advance? Absolutely! Prepare the rolls up to the point of baking, then cover and refrigerate overnight. The next day, let them come to room temperature and complete their rise before baking.
How do I know when the rolls are done baking? The rolls should be golden brown on top and sound hollow when tapped. An instant-read thermometer inserted into the center should read around 190°F to ensure they’re fully baked.
Can I freeze cinnamon rolls? Yes, cinnamon rolls freeze beautifully. Wrap them tightly in plastic wrap and then foil, or place them in a freezer bag. Thaw overnight in the refrigerator or at room temperature before reheating.
With these FAQs in mind, you’re well-prepared to tackle the delicious task of making mini cinnamon rolls. Remember, baking is as much about the journey as it is about the destination, so have fun experimenting and enjoying the fruits of your labor.
Conclusion
As we wrap up this comprehensive journey through the mini cinnamon rolls recipe, it’s clear that these delightful treats are more than just a recipe; they’re an experience. Remember, the beauty of baking lies in the process as much as in the final product. So, preheat your oven, gather your ingredients, and get ready to spread joy, one mini cinnamon roll at a time. Happy baking!
This guide has equipped you with the knowledge to embark on your own mini cinnamon roll adventure, from selecting the right ingredients and mastering the dough to customizing your rolls with unique fillings and toppings. We’ve navigated through common challenges and questions, ensuring you’re well-prepared for a successful baking session.
Remember, the beauty of baking lies in the process as much as in the final product. Each batch of mini cinnamon rolls is a canvas for your culinary artistry, a chance to experiment with flavors and textures. Whether you stick to the classic recipe or venture into creative variations, the key is to enjoy every step, from kneading the dough to savoring the last bite.
So, preheat your oven, gather your ingredients, and get ready to spread joy, one mini cinnamon roll at a time. Happy baking!

